How to Clean a Laptop Fan: A Step-by-Step Guide (2024)
In this comprehensive guide, we’ll walk you through the process of cleaning your laptop fan, discuss the importance of regular maintenance, and provide tips to ensure your laptop stays dust-free.

Laptops are powerful machines, allowing us to work, game, and create on the go. However, one critical component often neglected in maintenance is the laptop fan. Over time, dust and debris accumulate inside your device, clogging the fan and leading to overheating, slower performance, and even hardware damage. Knowing how to clean a laptop fan is essential for maintaining optimal performance and extending your laptop’s lifespan.
In this comprehensive guide, we’ll walk you through the process of cleaning your laptop fan, discuss the importance of regular maintenance, and provide tips to ensure your laptop stays dust-free. Whether you’re a tech novice or a seasoned pro, these easy-to-follow steps will help you keep your laptop in top condition.
Why Cleaning Your Laptop Fan Important
If you’ve ever heard your laptop fan working overtime, it’s likely struggling to cool down your system. Cleaning your laptop fan prevents overheating, which can lead to thermal throttling—when your CPU and GPU reduce their performance to avoid damage from high temperatures. In extreme cases, overheating can permanently damage components.
A clean fan ensures optimal airflow, allowing your laptop to stay cool and perform efficiently. It’s not just about performance, though—cleaning dust from laptops helps prevent breakdowns and extends the device’s lifespan, saving you costly repairs or replacements in the long run.
The Impact of Dust on Laptop Performance
Dust and dirt accumulate in your laptop over time, particularly around the fan and vents. This buildup restricts airflow, leading to higher internal temperatures. As components like the CPU, GPU, and battery heat up, they lose efficiency. Studies have shown that laptops running at higher temperatures can see performance drops of up to 30% over time.
Related: How to Clean a Computer
Signs Your Laptop Fan Needs Cleaning
Not sure if your laptop needs cleaning? Here are some telltale signs that your laptop fan may be clogged with dust:


- Loud, constant fan noise: A working fan should be barely audible. If your fan is making excessive noise, it’s likely straining due to dust buildup.
- Overheating: Feeling heat from your laptop’s underside or seeing warning messages about high temperatures? That’s a sign your fan isn’t doing its job.
- Slow performance: Overheating leads to thermal throttling, which can cause noticeable slowdowns in tasks like gaming, video editing, or even simple web browsing.
- Frequent crashes or shutdowns: If your laptop shuts down unexpectedly, it could be overheating and unable to cool itself properly.
What You’ll Need to Clean a Laptop Fan
Before you dive in, gather the tools you’ll need for cleaning laptop fans safely and effectively. Here’s what you’ll need:
- Screwdrivers: A small Phillips or Torx screwdriver is typically required to open the laptop case.
- Compressed Air Canister: Ideal for blowing dust out of hard-to-reach areas without causing damage.
- Soft Brush or Cotton Swabs: Used to gently clean around the fan blades and vents.
- Isopropyl Alcohol (Optional): A safe cleaning solution for removing any stubborn dirt or grime on fan blades.
- Antistatic Wrist Strap (Optional): To prevent static discharge, which can harm delicate electronics.
Preparing to Clean: Important Safety Tips
Before starting the cleaning process, it’s essential to take a few precautions to protect both yourself and your laptop:
- Power Down Completely: Shut off your laptop, unplug it, and remove the battery (if possible). This ensures your safety and avoids damaging internal components.
- Ground Yourself: If you’re working on a high-end gaming or productivity laptop, consider using an antistatic wrist strap to avoid static discharge that could fry your laptop’s sensitive electronics.
- Work in a Clean Environment: Choose a well-lit, dust-free area to work on your laptop. Keep small parts like screws in a container to avoid losing them.
How to Clean a Laptop Fan: Step-by-Step
Step 1: Shut Down and Unplug Your Laptop
Before you begin, always make sure your laptop is turned off, unplugged, and (if possible) the battery is removed. This ensures there is no power running through the laptop while you clean.

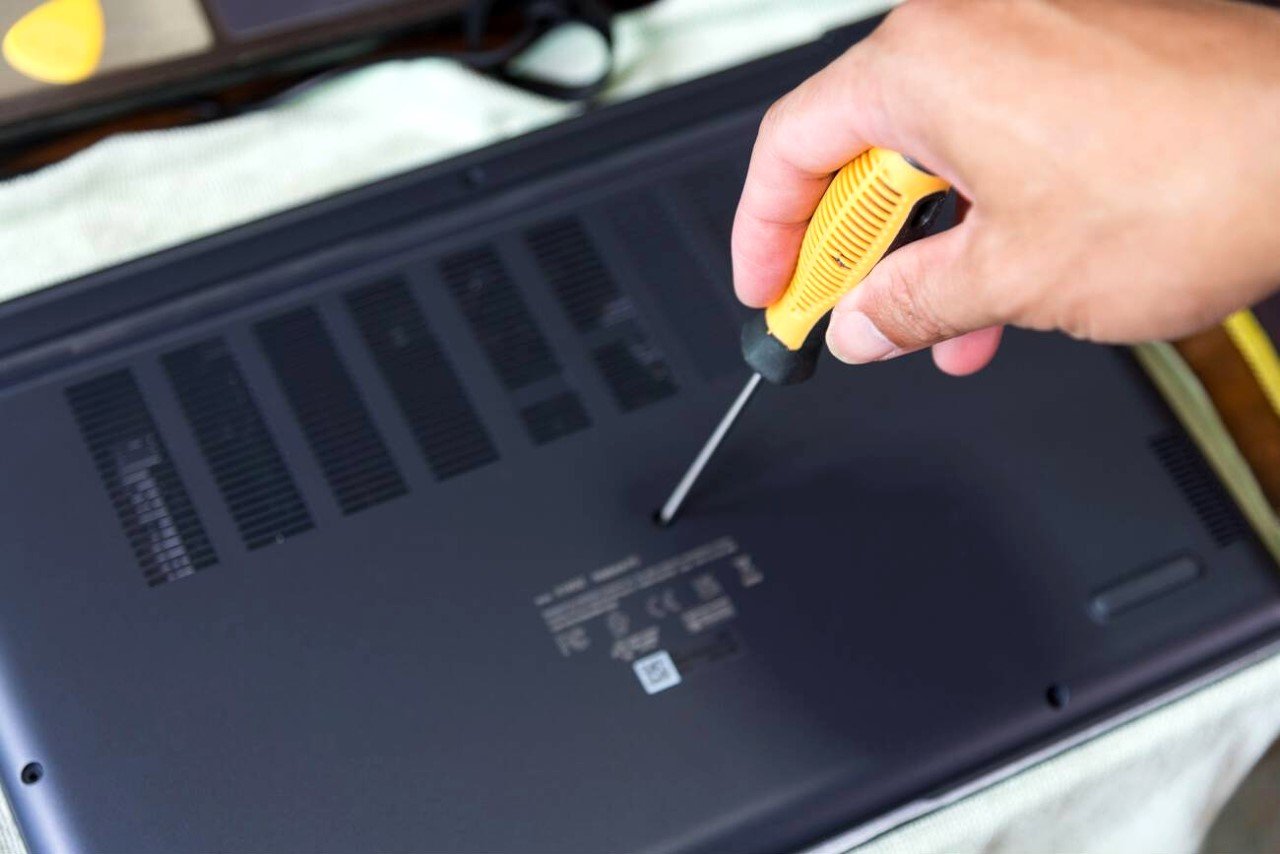
Step 2: Open the Laptop Casing
Using your screwdriver, carefully remove the screws on the underside of your laptop. Keep track of where each screw belongs, as they may vary in size. Once the screws are removed, gently pry open the casing. Most laptops have clips that may require a little pressure to open.
Pro Tip: Take photos of the disassembly process as you go. This will help when it’s time to reassemble the laptop.
Step 3: Locate the Fan
Once the casing is open, you should see the internal components, including the motherboard and the cooling fan. The fan is typically located near the vents on the side or back of the laptop.
Step 4: Clean the Fan
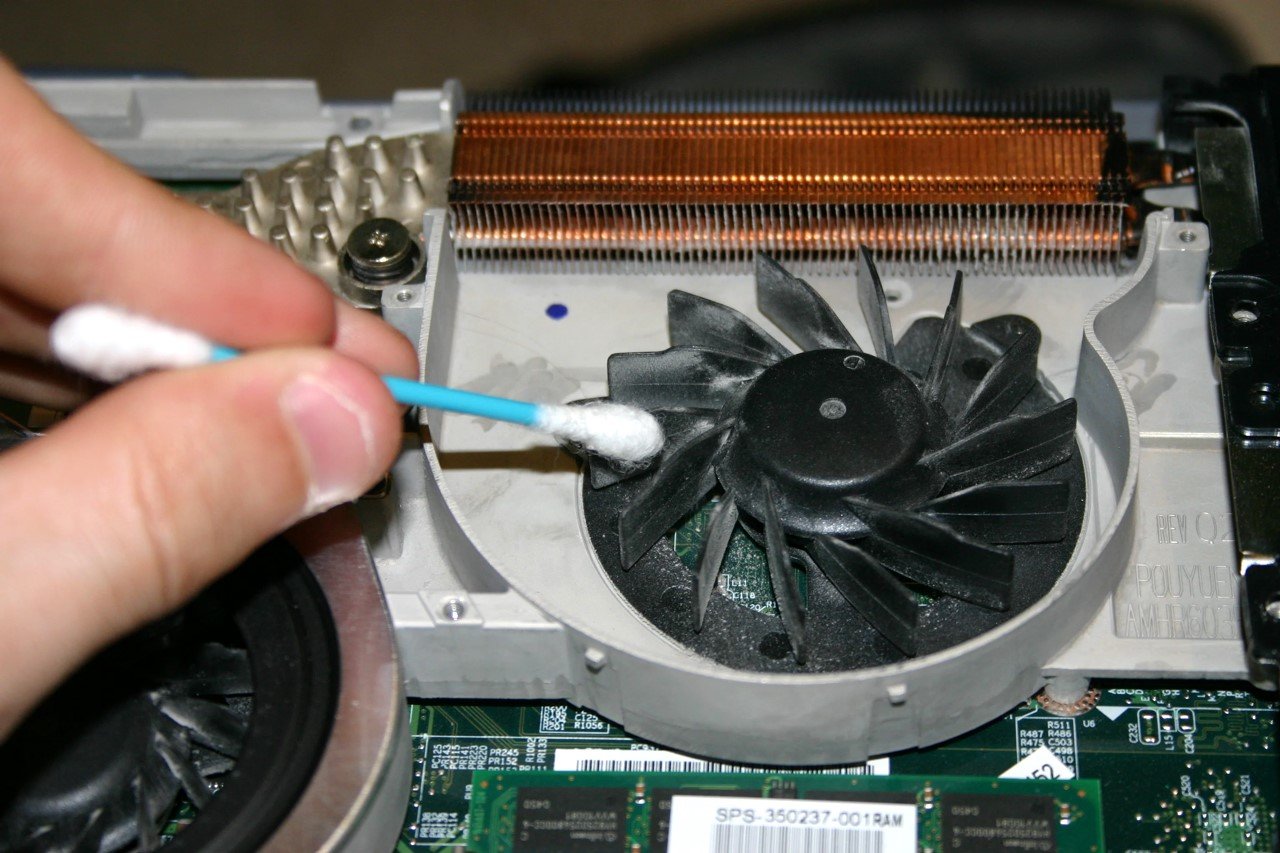
- Use compressed air: Hold the fan in place with your finger to prevent it from spinning, and gently spray compressed air to remove dust. Avoid spraying too close to the fan, as this could damage the blades.
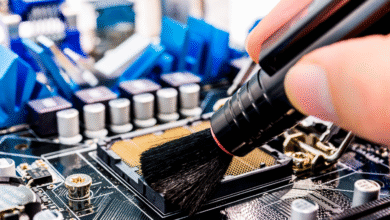
- Use a soft brush or cotton swabs. If there is still visible dust on the fan blades or surrounding components, use a brush or swab to carefully clean it off. You can dampen the swab with a small amount of isopropyl alcohol for stubborn dirt.
Avoid using too much force, as the fan blades are delicate and can bend or break easily.
Step 5: Reassemble the Laptop
Once the fan is clean, place the casing back on the laptop and reinsert the screws. Double-check that everything is secure before powering on your device.
Additional Tips to Keep Your Laptop Fan Clean
Cleaning your laptop fan every few months will keep your laptop running smoothly, but there are some steps you can take to prevent dust buildup:
- Use Your Laptop on Hard, Flat Surfaces: Avoid using your laptop on soft surfaces like beds or couches, which can block the vents and cause dust to accumulate more quickly.
- Invest in a Laptop Cooling Pad: A cooling pad with extra fans helps keep your laptop cool and reduces the workload on its internal fan.
- Clean Vents Regularly: Use a soft cloth or compressed air to keep the vents on the sides or back of your laptop clear of dust.
Conclusion
Cleaning your laptop fan is an essential part of routine maintenance that tech enthusiasts should never overlook. By following the simple steps outlined in this guide, you can improve your laptop’s performance, extend its lifespan, and prevent overheating issues. Regular maintenance doesn’t just keep your laptop in good working order—it can save you from costly repairs down the road. So, don’t wait for your laptop to overheat; take action today and enjoy a cooler, faster device.